
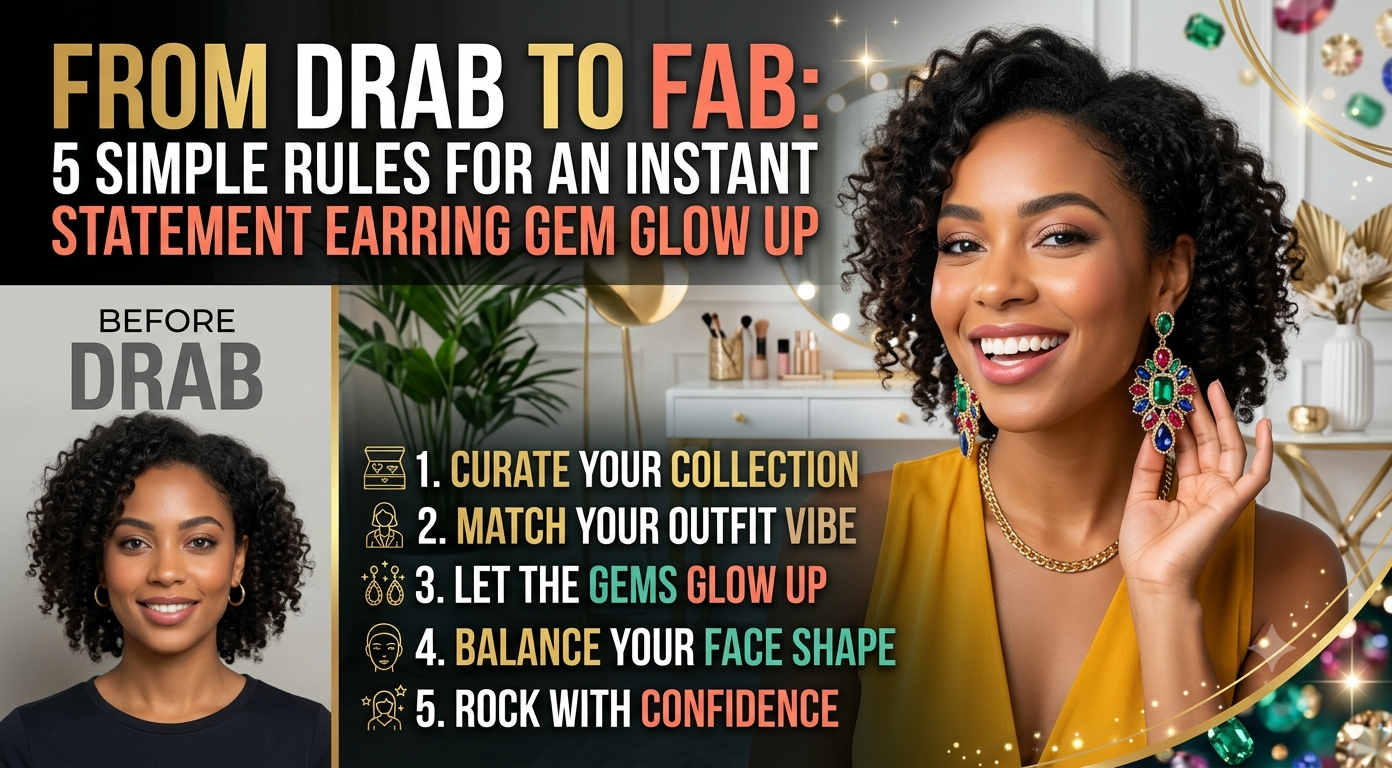
There is a distinct, undeniable power in a truly magnificent pair of statement earrings.
You know the feeling: you slip on a pair of sculptural gold hoops, vibrant chandelier drops, or glittering gemstone dangles, and instantly, your entire posture shifts. Your jawline looks a little sharper, your eyes sparkle a little brighter, and even the most basic white t-shirt and jeans combo suddenly looks like an off-duty runway outfit. Statement earrings aren’t just accessories; they are personal armory, self-expression, and wearable art all rolled into one. They draw the eye upward, frame the face, and hold the unique power to completely redefine an outfit in a matter of seconds.
However, there is a dark side to the world of bold jewelry.
Over time, your favorite hero pieces begin to lose their magic. That captivating pair of sapphire-toned drop earrings starts looking a bit cloudy. Your vintage-inspired brass dangles collect an unappealing film of tarnish. The backings stretch, pull at your earlobes, and leave you with an uncomfortable tugging feeling by mid-afternoon. Before you know it, those prized statement pieces are relegated to the bottom of a velvet jewelry box—forgotten, dusty, dull, and thoroughly drab.
It doesn’t have to end this way. You don’t need a high-end jeweler on speed dial or an unlimited shopping budget to revive your collection. Welcome to your ultimate guide on transforming your jewelry collection from drab to fab.
Here are the 5 simple rules for an instant statement earring Gem Glow Up, tailored specifically for jewelry lovers looking to elevate their everyday style with maximum impact and effortless care.
The single biggest reason statement earrings go from fab to drab isn’t wear and tear—it’s build-up.
Every single day, our jewelry is exposed to an invisible cocktail of beauty products and environmental elements. Microscopic layers of mineral sunscreen, lightweight hair products, body oils, perfume, and ambient dust settle onto your earrings. Over weeks and months, this creates an opaque film over faux and genuine gems alike, trapping light, blocking reflection, and robbing them of their natural refraction and luster. What looks like a permanently damaged or cheap stone is often just a gem screaming for a proper bath.
To achieve an instant “gem glow up,” your statement earrings need a safe, effective, and deep cleanse tailored to their specific material composition.
[ GENTLE CLEANING DECISION TREE ]
|
+———————+———————+
| |
[ Hard / Non-Porous ] [ Delicate / Porous ]
(Diamonds, Silver, CZ) (Pearls, Opals, Resin)
| |
v v
Warm Soap Bath Damp Cloth Wipe Down
& Soft Toothbrush & Microfiber Buff
The Soak: Create a gentle bath using lukewarm water and a few drops of mild, phosphate-free dish soap or gentle castile soap. Submerge your earrings for 5 to 10 minutes to loosen trapped oils and debris.
The Detail Work: Using an ultra-soft, micro-bristled baby toothbrush, gently scrub behind the settings, around the prongs, and inside open-backed mountings where dust loves to hide.
The Rinse & Dry: Rinse thoroughly under clean, running, lukewarm water (make sure the drain is covered!). Immediately dry and polish with a lint-free microfiber cloth.
The Golden Rule: Never submerge porous stones or costume jewelry held together by foil backs or vintage glues in water. Water can seep behind costume settings, causing the foil backing to peel or blacken permanently.
The Wipe-Down: Use a slightly damp, soft cloth to gently wipe down the surfaces.
The Polish: Follow up with a soft, dry jewelry polishing cloth to bring back their surface luster without compromising the integrity of the setting or stone.
The “5-Minute Rule” for Daily Care: Make your jewelry the absolute last step in your morning routine. Apply your moisturizer, sunscreen, hairspray, and perfume first. Let everything dry and set for at least five minutes, and then put on your statement earrings. This single habit cuts down residue build-up by up to 80%.
A common mistake when styling bold earrings is treating them as an isolated accessory rather than part of a complete composition. A true statement earring requires a carefully curated frame. If your hair, makeup, and clothing neckline are competing for attention with your earrings, the entire look becomes chaotic rather than chic.
To achieve a high-fashion “glow up,” you must learn how to style the canvas surrounding your jewelry.
The primary goal when wearing statement earrings is to allow light to pass through and around them. When hair gets tangled in long dangles, it creates visual clutter and risks damaging delicate jewelry components.
Sleek Updos & High Buns: The undisputed best friend of the statement earring. Sweeping your hair away from your face and neck instantly elongates your silhouette and gives architectural, geometric, or chandelier earrings room to shine.
The “Tucked Behind the Ear” Trick: If you prefer wearing your hair down or in relaxed, effortless waves, tuck one side behind your ear. This asymmetrical reveal adds a touch of modern sophistication while allowing light to hit your jewelry without obstruction.
Short Crops & Pixies: Short hair was practically made for statement earrings. Lean into dramatic drops and oversized studs that draw attention directly to your cheekbones and jawline.
Matching the geometry of your clothing to the silhouette of your earrings creates a cohesive, intentional outfit.
Neckline Style | Ideal Earring Silhouette | Why It Works |
Off-the-Shoulder / Strapless | Long Chandelier Drops & Shoulder-Grazers | Fills the bare collarbone canvas without clutter |
V-Neck / Scoop Neck | Medium Angular Dangles & Tear Drops | Mirrors the downward lines of the neckline |
High Crew Neck / Turtleneck | Oversized Statement Studs & Door-Knockers | Creates a crisp, modern focal point on solid fabric |
Asymmetrical / One-Shoulder | Bold Huggies or Geometric Hoops | Keeps the visual balance clean without clashing |
Keep your focal points clear. The general rule of beauty balance is simple: let one area lead while the others support.
Colorful Gems: If your statement earrings feature bright, bold colors (emerald green, vibrant magenta, deep cobalt), pair them with neutral eyes, fresh skin, and a muted lip. Let the gems provide the main pop of color.
Metallic & Sculptural: If you’re wearing dramatic, plain metal pieces (high-shine gold, hammered brass, or oxidized silver), you have room to play with a bold red lip or a sharp winged eyeliner.
Nothing kills the elegance of a statement earring faster than “droop.”
Heavy, elaborate statement earrings are notorious for pulling down on the earlobe, causing the earring to point downward toward the floor rather than facing forward toward the room. Not only does this look uncomfortable and visually aging, but over time, heavy earrings can permanently stretch your ear piercings.
A complete gem glow up isn’t just about cleaning the front of the earring; it’s about perfecting the support structure at the back.
SAGGING EARRING (Standard Back) UPRIGHT EARRING (Upgraded Back)
/ |
/ |
/ <– Tilts Downwards | <– Sits Flush
(O) (O)
/ | \ / | \
The Support Backing Upgrade
Standard butterfly backs or tiny rubber bullets were designed for lightweight daily studs—not heavy-duty statement dangles. To instantly transform how your earrings sit on your ears, consider these modern backings:
Swap out your tiny standard backings for wide, clear plastic disc backs. These backings distribute the weight of the earring across a significantly larger surface area on the back of your earlobe. This simple swap instantly prevents tilting, keeping the earring sitting flush, upright, and perfectly forward-facing.
Hypoallergenic, clear adhesive patches applied directly to the back of the earlobe before inserting the earring post provide an invisible safety net. The post passes through both your lobe and the strong adhesive patch, transferring the weight of the earring onto the patch rather than your skin. This eliminates tugging, prevents discomfort during long events, and keeps your lobes safe from stretching.
For clip-on style statement earrings or vintage pieces, adding silicone cushion pads to the clips increases grip while spreading pressure evenly, preventing the painful pinching feeling that leads to taking them off halfway through the night.
When your earrings sit properly, the light catches the gems at their intended angle, instantly boosting their brilliant sparkle and making you look infinitely more put-together.
Light is the ultimate driver of how gemstones look to the human eye. Understanding how different gem colors and metal finishes interact with various lighting environments is the secret weapon of fashion stylists.
Choosing the right stone color for your environment ensures your statement pieces never look flat, washed out, or lost against your outfit.
[ GEM COLOR SELECTION ]
|
+—————————+————————–+
| |
[ Natural Daylight ] [ Evening / Indoor ]
| |
+————+———–+ +———–+———–+
| | | |
Warm Tones Cool Tones Deep Reds Clear Crystals
(Amber, Citrine) (Turquoise, Jade) (Garnet, Ruby) (CZ, Diamonds)
| | | |
v v v v
Rich Warm Glow Crisp Contrast Dramatic Depth Prismatic Flash
1. Natural Daylight & Sunny Environments
Under natural, bright sunlight, subtle gems can lose their intensity, while highly saturated, clear, and opaque stones come alive.
Best Choice: Warm ambers, rich citrines, bright turquoise, deep jade, and polished metals (hammered gold and silver).
The Effect: Turquoise and sea-foam tones provide a striking, refreshing contrast, while warm golden tones absorb the natural daylight to create a rich, glowing aura around the face.
Under softer, lower-temperature indoor lighting (restaurants, evening galas, dim lounges), opaque stones can look flat, whereas faceted stones and bright metals thrive on minimal ambient light.
Best Choice: Deep garnet reds, midnight sapphires, emerald greens, and faceted clear crystals or cubic zirconia.
The Effect: Faceted stones act like tiny prisms, catching low indoor light and bouncing back sharp, mesmerizing glints of sparkle as you move and converse.
Forget the outdated, rigid fashion rule that you can never mix gold and silver. A modern gem glow up embraces artful contrast!
If your statement earrings feature mixed metal elements, lean into it. Pair silver-set crystal statement earrings with a warm gold ring stack, or choose earrings that combine cool platinum/silver tones with warm brass or yellow gold. The key to making mixed metals look intentional rather than accidental is consistency: repeat both metal tones at least once elsewhere in your outfit (such as your handbag hardware, watch, or belt buckle).
You’ve cleaned your gems, upgraded your backings, perfected your styling, and chosen the right colors. Now, how do you keep that “just bought” glow lasting for years to come?
By protecting your collection from the silent destroyers of jewelry: humidity, oxidation, friction, and chaotic storage.
Humidity accelerates tarnish on sterling silver and brass, while ocean air and moisture can degrade the protective anti-tarnish lacquers applied to costume jewelry. Furthermore, throwing all your statement pieces into a single drawer causes stones to scratch softer metals and fine chains to tangle beyond repair.
[ STORAGE SETUP ]
├── High-Humidity Zones (Bathrooms, Sinks) —–> ❌ NEVER
└── Dry, Temperature-Controlled Storage ———> ✅ ALWAYS
├── Individual Soft Velvet Pouches
├── Anti-Tarnish Paper Strips
└── Silica Gel Packets (Moisture Control)
Never, under any circumstances, store your favorite statement earrings in the bathroom. The daily humidity and steam from showers create an ideal environment for rapid oxidation, discoloration, and structural weakening of jewelry glues. Store your collection in a dry, temperature-controlled room (like a bedroom wardrobe or dresser).
Statement earrings often feature intricate scrollwork, sharp prongs, multi-tiered drops, and delicate filigree. Storing them loose in a single tray causes stones to scratch softer metals (and each other).
Store each pair in individual soft velvet pouches, micro-fiber bags, or dedicated grid compartments within a lined jewelry box.
For long drop earrings, consider hanging displays or slotted foam trays to keep components straight and tangle-free.
Drop small silica gel packets (the kind found in shoe boxes) or anti-tarnish paper strips inside your jewelry storage drawers. These active absorbers suck up ambient atmospheric moisture, keeping your silver, brass, and gold-plated statement pieces gleaming bright with zero ongoing physical effort.
Ready to put these rules into action? Take 10 minutes this weekend to give your jewelry collection a total refresh using this step-by-step audit process:
[ 10-MINUTE JEWELRY AUDIT ]
1. SORT –> Identify dull, heavy, or sagging pairs.
2. CLEAN –> Soak hard gems; wipe delicate/costume pieces.
3. UPGRADE –> Swap small backings for supportive disc backs.
4. PROTECT –> Add silica packets and separate into soft pouches.
5. ROTATE –> Select 3 go-to hero pairs for the upcoming week.
Sort & Inspect: Gather your statement earring collection into one well-lit area. Separate pieces that look dull, cloudy, tarnished, or pulled out of shape.
Deep Clean: Give hard stones and solid metals a warm-water soap bath. Carefully wipe down delicate pearls, opals, and costume pieces with a damp microfiber cloth.
Upgrade the Backings: Throw away flimsy butterfly backs on your heaviest dangles and replace them with supportive wide-disc backs or prepare adhesive lobe patches.
Reorganize for Protection: Move your storage out of high-humidity zones. Place silica gel packets into your jewelry drawers and put each pair into its own pouch or tray slot.
Select Your Weekly Heroes: Pick three versatile statement pairs for the week ahead, place them at the front of your storage, and commit to building your outfits around them!
Transforming your personal style doesn’t require throwing out your wardrobe or spending a fortune on new accessories every season. True style elevated lies in the art of care, curation, and confidence.
By understanding how to properly clean your stones, support heavy settings, frame your face with complementary necklines and hairstyles, and protect your pieces from atmospheric damage, you can breathe brand-new, radiant life into the jewelry you already own.
Say goodbye to tired, hidden accessories sitting in the dark at the bottom of your drawer. Step into bright, head-turning confidence, embrace the transformative power of a great accessory, and enjoy your instant, brilliant gem glow up today!


© 2026 Gemglowup-au.com | All Rights Reserved